Column · No.01 · Sizing
How to Measure Your Press-On Nail Size Get it right the first time — width is everything
The most common question before ordering is “what size am I?” Learn two ways to measure all ten nails, why width matters more than length, and why rounding up is always the safer choice.
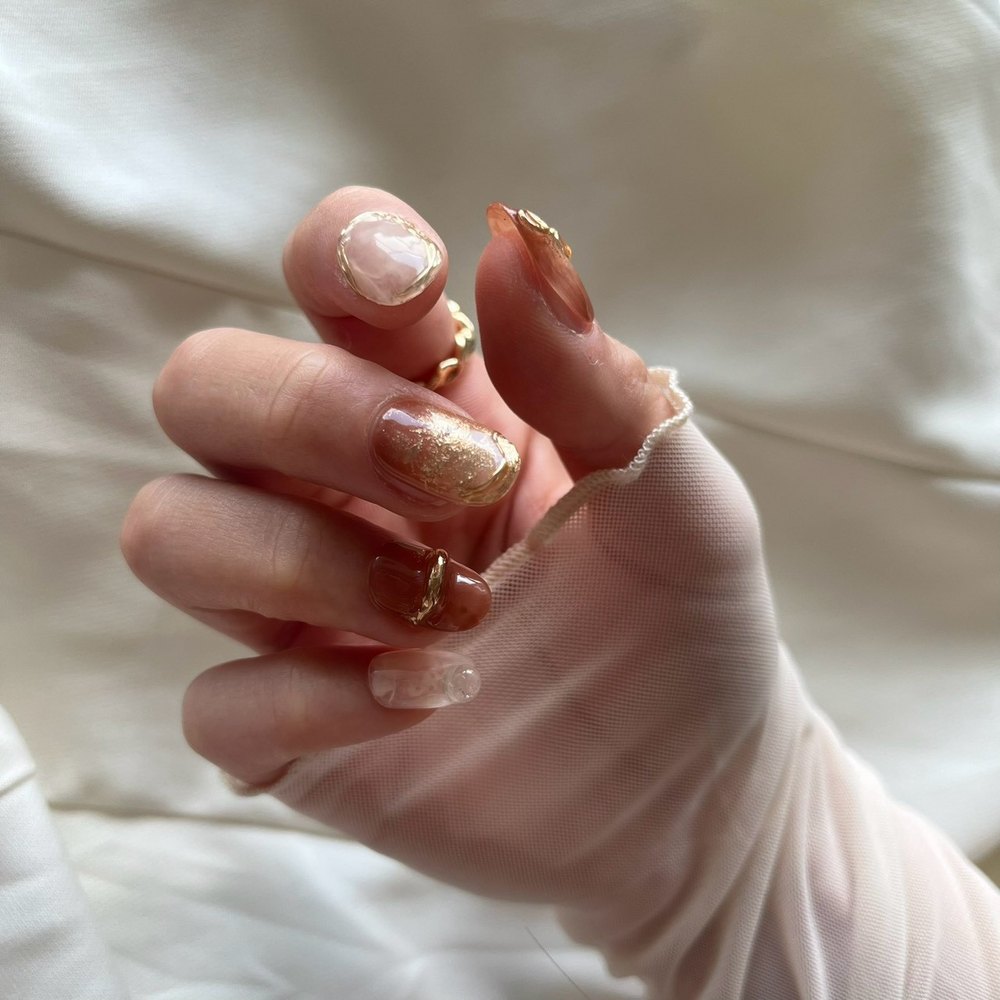
The single most common question we hear before an order is: “what size am I?” It matters more than the design you pick — a perfect colour on a set that is half a millimetre off will lift, pinch, or show a sliver of natural nail at the side, while a correctly sized set in almost any shape reads as though it grew there. Roughly nine parts out of ten of how a press-on set turns out comes down to sizing, not painting.
There are two ways to find your numbers: a ruler-and-tape method you can do right now with things already in the house, and our Sizing Kit, which removes the guesswork entirely. Both are covered below, along with why we always tell customers to round up rather than down.
What actually needs measuring
Only one number matters: the width of your nail at its widest point, left to right. Length is easy to fix after the fact with a nail file; width is not — a tip that is too narrow will always show natural nail at the sides no matter how it is filed, and one that is too wide cannot be made narrower without changing its shape entirely.
| Finger | Typical width |
|---|---|
| Thumb | 12–15 mm |
| Index / middle / ring | 9–12 mm |
| Pinky | 7.5–8 mm |
These are typical ranges, not rules — the exact width for a given size number also depends on which of our six shapes you choose, since a Short Ballerina and a Short Oval curve differently even at the same number. Measure all ten fingers individually. Most people are surprised to find their thumb is a size or two different left to right, and that no single number covers a whole hand.
Method 1 — paper tape and a ruler
- Lay a small strip of paper tape flat across the widest part of the nail, corner to corner.
- Mark both edges with a pen while the tape is still on the nail.
- Peel it off, flatten it, and measure between the two marks with a millimetre ruler.
- Write the number down for that finger and repeat for all ten.
Method 2 — the Sizing Kit
If you would rather not measure with a ruler, add the Sizing Kit ($12) at checkout — ten clear, unpainted tips numbered 0 to 9. It ships within 2 business days of your order and arrives in about 14 days; nothing is painted until we have your numbers, and the kit is yours to keep afterwards.
| Step | What to do |
|---|---|
| 1 | Hold each numbered tip against the matching nail |
| 2 | Find the one that reaches edge-to-edge without overlapping skin |
| 3 | Enter that number for each of the ten fingers at checkout |
0 is the largest size we make, 9 is the smallest. Once you know your numbers for one shape, keep them for next time — just note that the same number is a slightly different width on a different shape, so re-check with the kit if you switch shapes.
Why a correctly sized set can still lift
| What you see | Likely cause | Fixable? |
|---|---|---|
| Natural nail visible at the side | Too small | No — re-order a size up |
| Tip overlaps the skin at the edges | Too large | Yes — file the edges down |
| Gap in the middle or near the cuticle | Curve mismatch, not width | Often — see our flat/curved nails guide |
| Lifts even though the size is right | Oil or lotion on the nail | Yes — wash and wipe with alcohol first |
Before you check out
- Measured all ten fingers individually — not just one and assumed the rest match
- Rounded up on anything that fell between two sizes
- Checked the size chart or Sizing Kit for the specific shape you are ordering
- Double-checked the thumb separately — it is usually 1–2mm wider than people expect
Related reading
If your numbers are already in hand, these cover the situations that come up most:
- What to do if a finished tip is 1mm too big or too small
- Why your left and right hand often need different numbers
- Options if your nails are narrower than our smallest size
Quick answers
Where exactly do I measure?
At the widest point of the nail, left edge to right edge — never the length. Length can be trimmed with a file after the fact; width cannot be added or meaningfully reduced without changing the tip's shape.
What is the fastest way to measure without special tools?
Lay a strip of paper tape across the widest point, mark both edges with a pen, peel it off and measure between the marks with a ruler. When you land between two millimetres, round up.
What is the Sizing Kit and do I need it?
It's a set of ten clear, numbered tips (0–9) that let you find your exact size by holding each one against your nail, no ruler needed. It's a $12 option at checkout — optional if you're comfortable measuring yourself, but the safest route if you've never ordered press-ons before.
A tip arrived slightly too big — can it be fixed?
Yes. File both edges gradually, from base to tip, removing about 0.5mm per side. A tip that's too small can't be enlarged, which is exactly why we recommend rounding up whenever a measurement falls between two sizes.
Read next
ColumnPress-On Nail 1mm Too Big or Too Small?→Column
Left and Right Hands Are Different Sizes→
More from écrin